Frontend Component Libraries
Resources
You must watch all videos before the lecture.
Basic Styling - TailwindCSS (12 min) Basic Styling - DaisyUI (5 min) Basic Styling - Flowbite (5 min)
Objectives
-
3 points
Styling our course tables
Use DaisyUI table styling to make your table design match the screenshot.
-
3 points
Adding Navigation Buttons
Use DaisyUI styling to add back button like in the screenshot.
-
1 point
Add a styled heading and a intro paragraph
Use basic TailwindCSS styling to style a heading and a paragraph.
1. Introduction
Today we will look at Frontend styling and two very different approaches to it. We will specifially look into two TailwindCSS based, open-source component libraries. A component library is a set of prestyled components that we can use in our project to speed up the development cycle while helping us maintain a professional looking template.
TailwindCSS follows an Utility-first philosophy, this means styling is done via utility classes:
<button class="bg-red-500 dark:bg-red-400 p-3 rounded-md text-white hover:bg-red-300">Click Me</button>
The code above would generate a button that:
- is red (a bit brighter on dark mode)
- has a white text a white text
- has 3 rem (a spacing unit) padding around the content
- has rounded corners
- gets a bit brighter on hovering the button
Writing in TailwindCSS has the following implications:
- instead of maintaining both HTML and CSS, you only focus on HTML (speeds up dev cycle)
- once you become a bit familiar with the options its very easy to make modifications later
- background optimizations to auto-generate and minimize CSS file for fast browser rendering
- HTML becomes more cluttered and verbose
2. Daisy UI vs others (such as Flowbite)
According to their own "Why use Daisy UI?" section, TailwindCSS suggests an "utility-first", not a "utility-only" approach.
Daisy UI tries to remidify the last implication by utilizing a traditional approach:
<button class="btn btn-error">Click me</button>
This reduces the utility class complexity drastically but forces the developer into a very specific design that is a lot harder to customize. You are no longer in control of your design but are controlled by DaisyUI's design.
However an argument can be made that its simpler to use and it comes preinstalled with Phoenix.
Ultimately the component cataloge and the customization options are too limited for our purposes and most other component libraries follow the pure TailwindCSS utitily-first approach thus we will stop coding in DaisyUI after today and switch over to Flowbite in the next lecture session.
Its is good to see the Bootstrap successor once though and you can always come back to it in the future if this seems like the more appropriate tool for your needs.
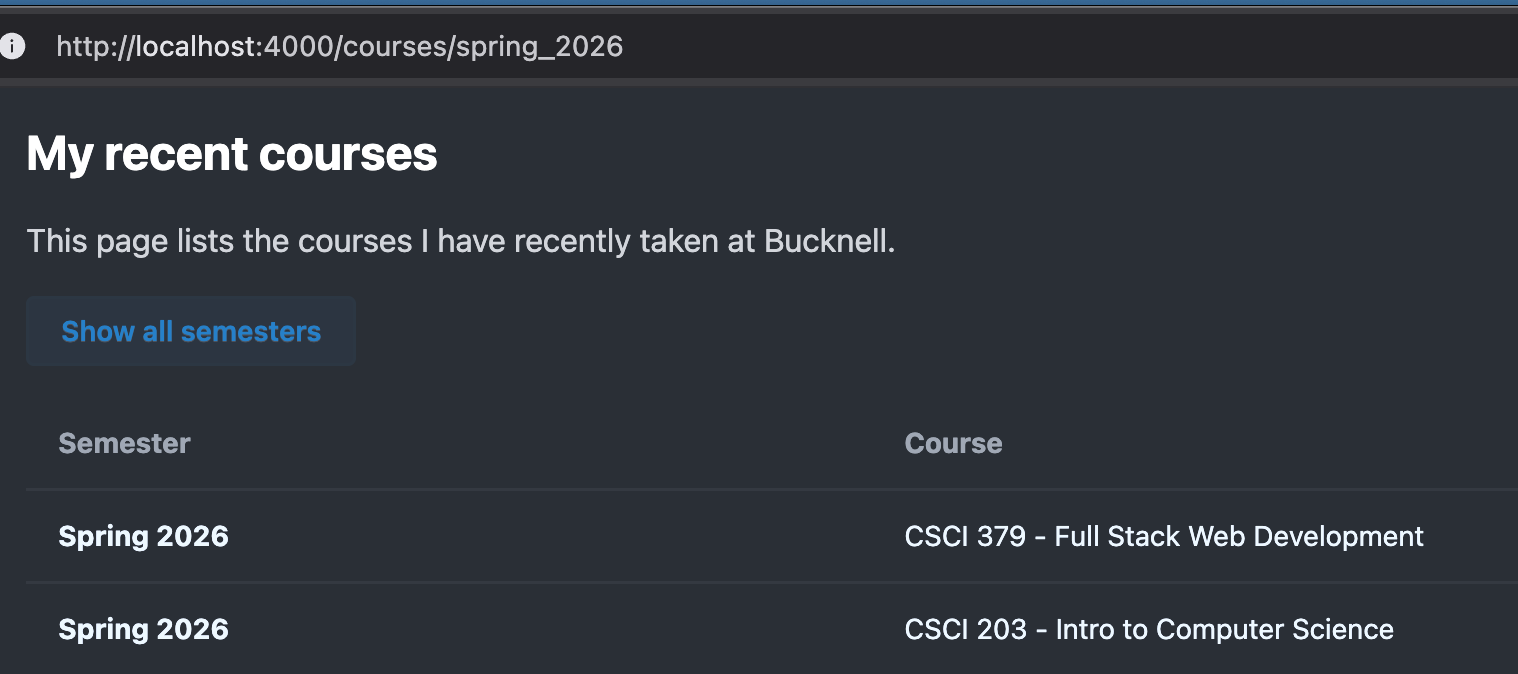
3. Objective: Styling our course tables (3 points)
I like you to explore the sections table and use DaisyUI's table styling to prettify your course table page on your website. Your table should end up looking like this:
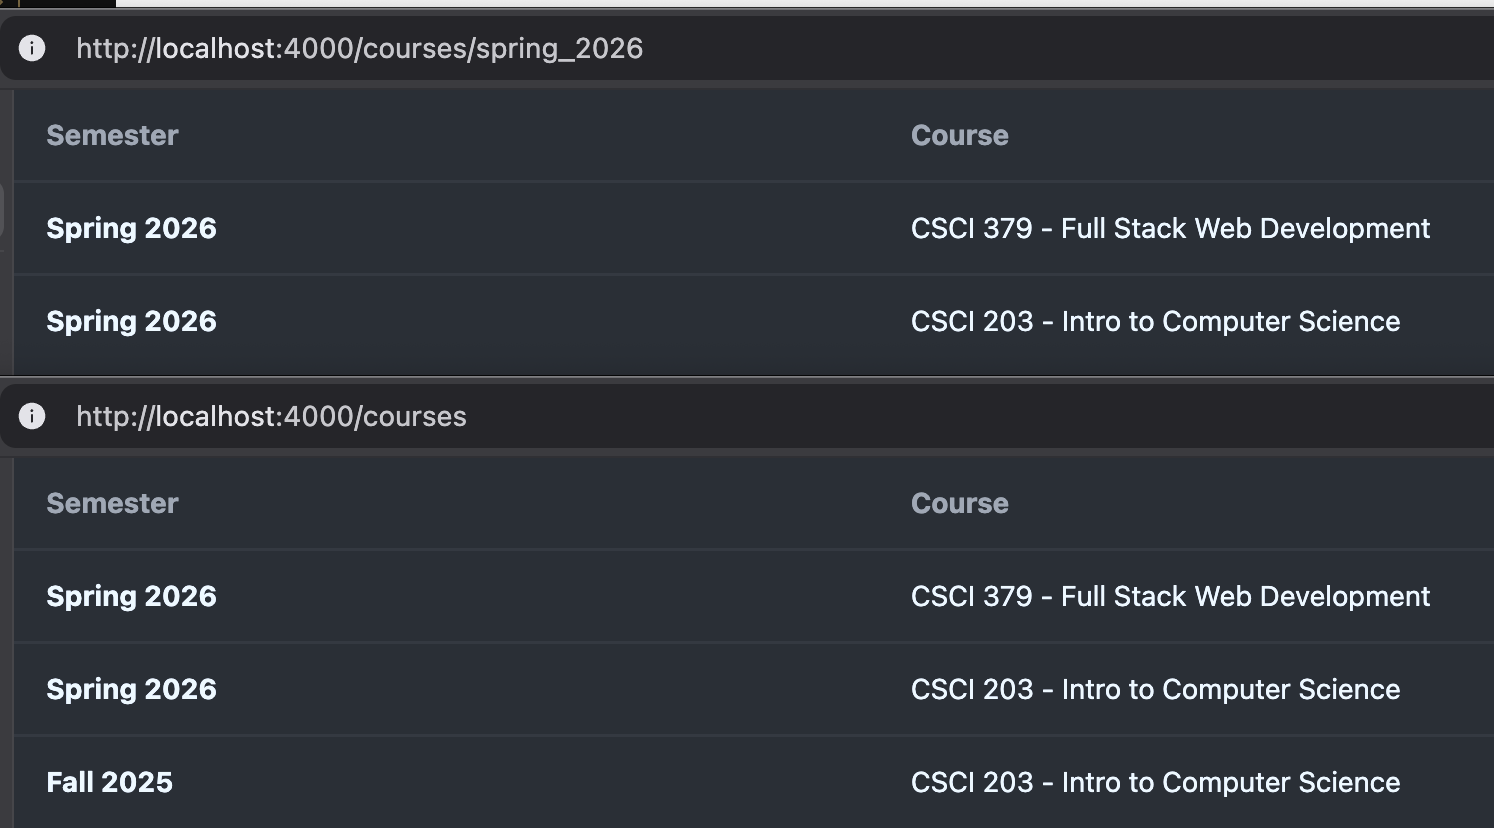
4. Objective: Adding Navigation Buttons (3 points)
If a visitor is under /courses/:slug, or in other words, looking at a specific semester, I would like you to add a link (that looks like a Daisy UI) that redirects the user to the course overview page. Remember to consult DaisyUI's Button section.
Notice that button styling can also be applied to other elements such as a link:
<.link class="btn" href={~p"/courses"}>back</.link>
If you have done any HTML programming before you will notice we use <.link> instead of <a> for hyperlinks. More to that later but for for now simply know that <.link> allows for more powerful and extended features that a basic ancor tag is incapable of.
~p"/PATH" is a so-called sigil that allows Phoenix to verify that the path that you specified is actually defined in the router and through a warning otherwise. This is the prefered way to link internal routes (navigation between your own pages).
Try to keep it similar to this:
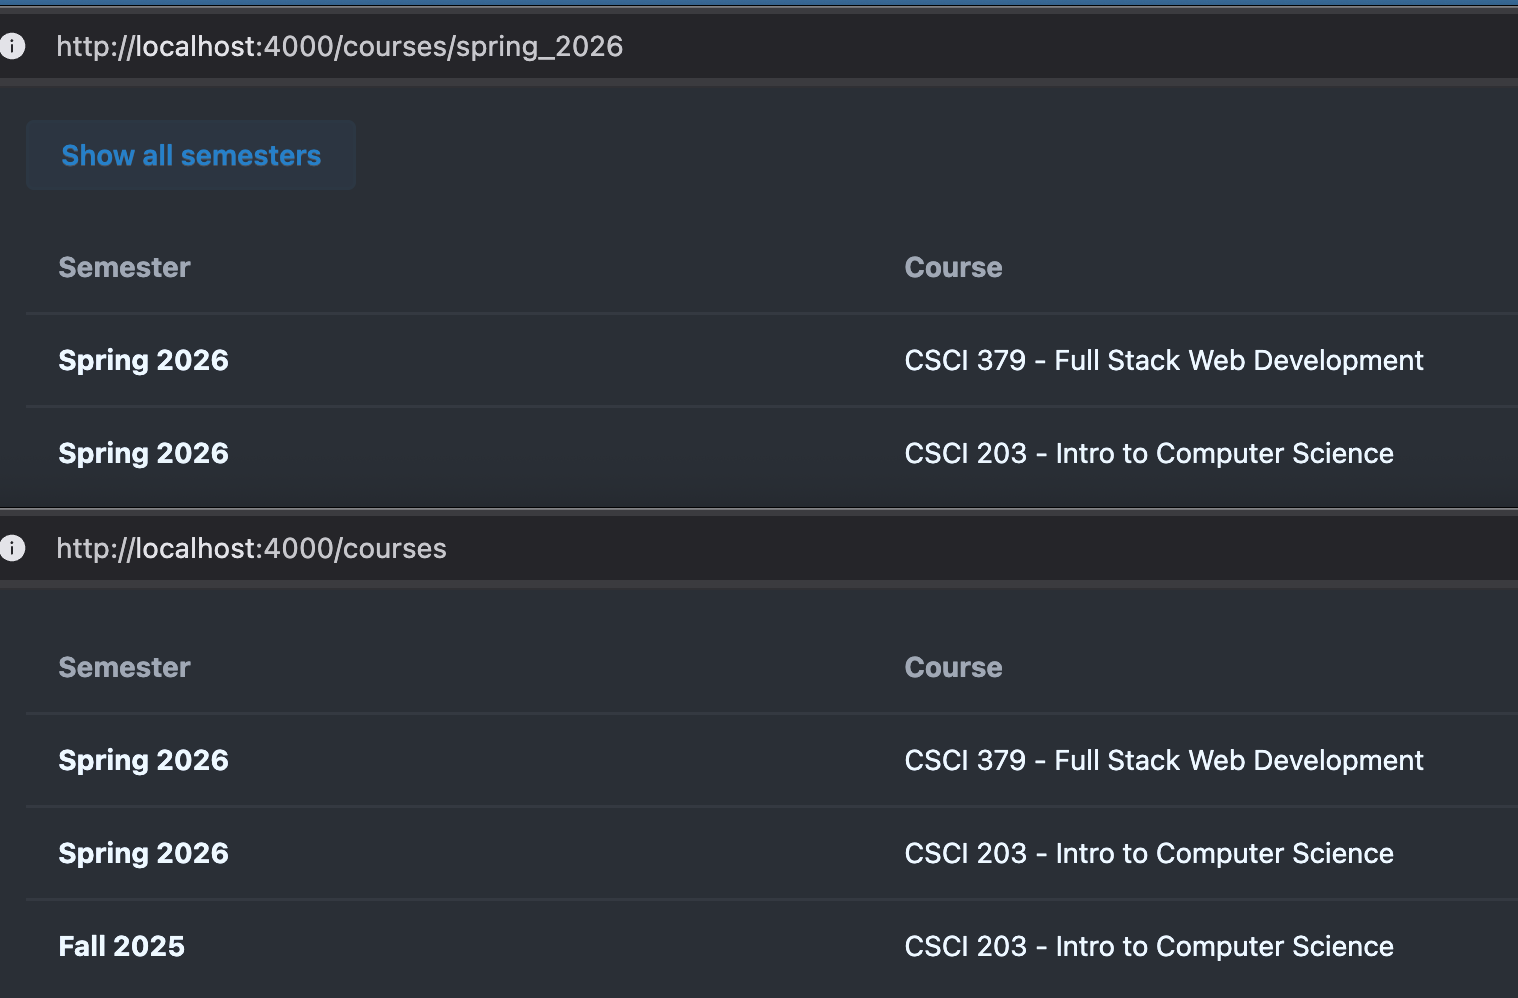
5. Objective: Add a styled heading and a intro paragraph (1 point)
For the last objective I am asking you to add an appropriate heading and a paragraph before your table. Ensure it is appropriately styled: The heading should be larger, bolder and perhaps darker than the paragraph.
Although DaisyUI has a Typography plugin, we are not going to bother enabling it (we will stop using DaisyUI soon).
Instead consult the official TailwindCSS documentation and find and adapt a few utility classes directly.
Here is an example of my page: