In todays lecture we will finally implement an authentication system that we can use to protect resources and hide operations such as creating/updating/deleting entries.
We will need to check something quickly to enable websockets on linuxremote because your instructor might have given you incorrect information in the past.
In your runtime.exs replace:
url: [host: "eg.bucknell.edu", path: "/csci379-s25-x", port: 443, scheme: "https"],
with:
url: [host: "eg.bucknell.edu", path: "/csci379-25s-x", port: 443, scheme: "https"],
Don't forget to replace x with your letter (lowercase). If your link already contains 25s instead of s25 there is nothing to do.
Before we move forward lets commit and push everything so we can revert back. The generator will create a lot of files...
Phoenix Auth
As in the video we will run the phoenix auth generator:
mix phx.gen.auth
Its up to you to choose liveview or controller based authentication. Both have their merits but I do recommend and suggest to default to the liveview based (y answer to the prompt) authentication, especially if you are not sure.
Run the migration next and test out
- the creation of a user account
- logging in after creating the account
For the purpose of this class we will not rely on the features of password_reset or confirming accounts but keep these features and files untouched in case we want to add it in the future.
Remember to add type="submit" to each submit button in each form otherwise our forms wont work.
Protecting Routes
After thoroughly testing your new authentication we'll want to protect some routes:
- Listing and Deleting Notification Messages should only be possible for authenticated users.
- Creating Notification messages should remain public functionality
It is up to you whether to display a flash error message or redirect to a 401 (Unauthorized) Custom Error Page just like we created them in the optional lesson last Friday.
TIP: I strongly suggest looking at the router and check out how the /user/settings page was protected via a special pipeline that requires authentication. You will want to do something similar instead of messing with logic in the controllers themselves.
Styling
To practice and get faster at Frontend design you will get two points if your authentication and registration pages are fully Flowbite styled including validation feedback. Check out the section on input fields for guidance.
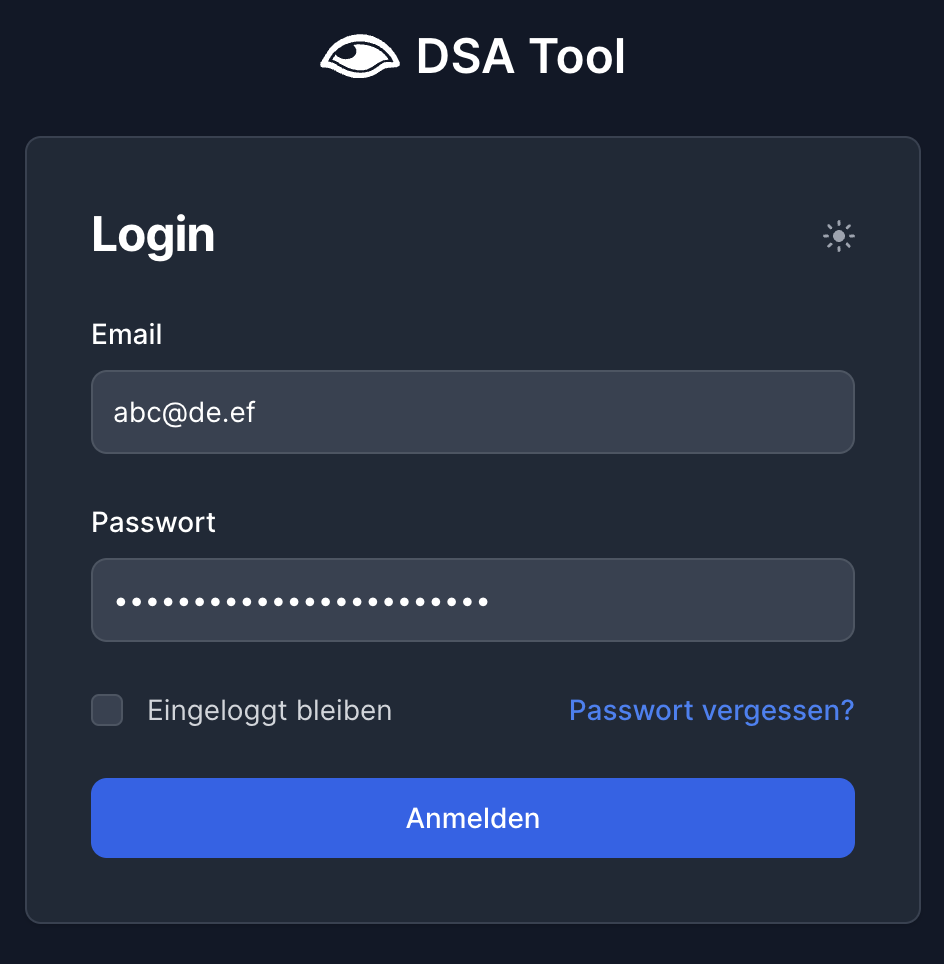
Here is how my forms look. This image is recycled from another website i did create so thats why the text is in German.
Tip The flowbite documentation has under blogs a fully finished login form that you can use as a base.
Expanding the user table
For the final task I do ask you to expand the user table with at least one additional field. This can be a name field, a birthday, an admin flag (that defaults to false) or perhaps a role (like admin, manager, developer,...).
This will require you to create a migration and run it, as well as change the schema and changeset of the user.ex file. Additional changes or function in the Accounts context might be convenient but probably not necessary.
Expand your Settings and/or registration page to allow to set this field accordingly.