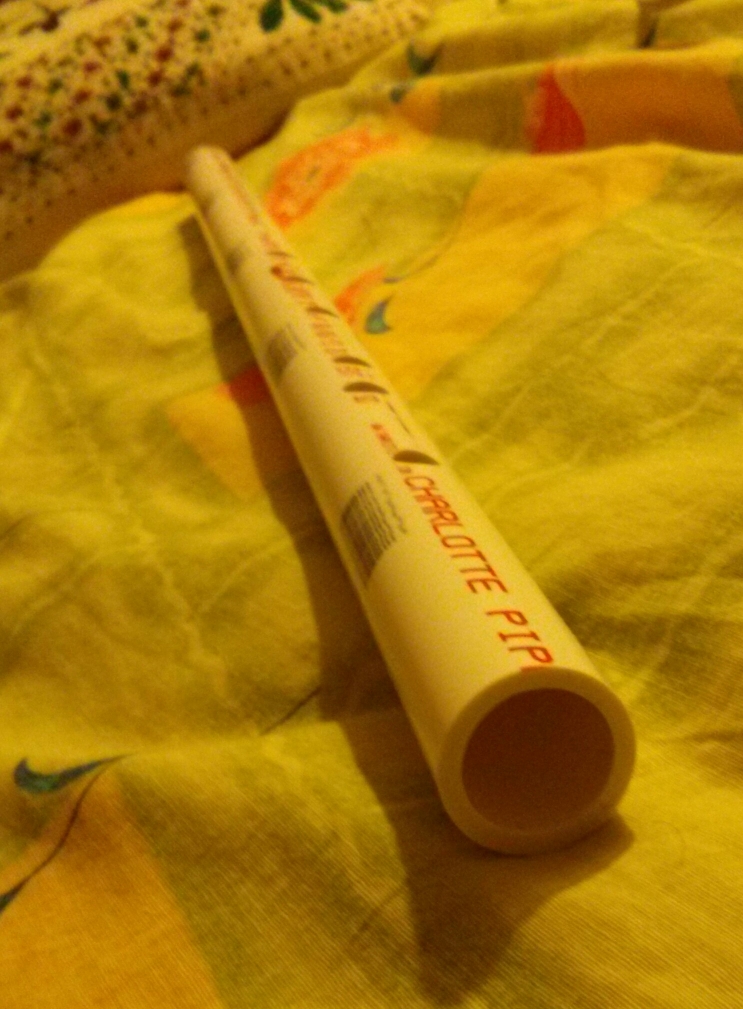
 During some random internet walks biased towards understanding the physics of the flute, I came across this amazing website
that describes everything wind instruments.
I also came across this video on making your own flute out of a PVC plumbing pipe
and figured it might be a fun project.
It worked out better than expected, so I decided to put together what I did, if anyone is interested in the details. To the right is a picture of the finished product. Here is an audio sample.
Here's what you'll need - I found everything at Home Depot.
- A PVC pipe ~ 2$. I used a 2' cut section of the 3/4" variety. It has an inner diameter of about 20mm and a wall thickness of about 3mm. You'll find it in the plumbing section.

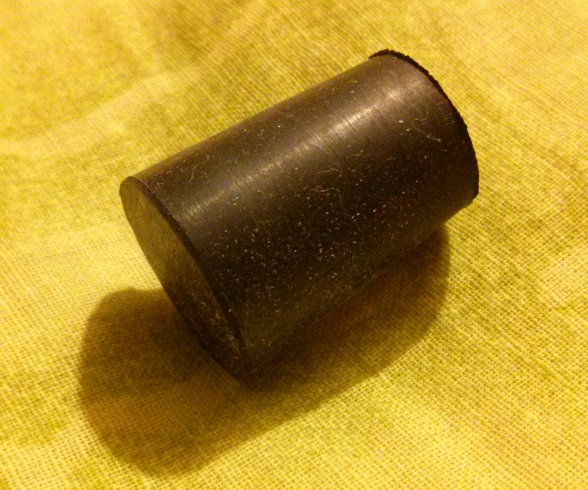
- A tapered rubber stopper ~ 1$. The small end should easily fit into the pipe, and the large end should not. That way you can cut it to size. You'll find it in a drawer near the screws in the hardware section.
- Emery cloth. Fine and coarse grained are needed. I used a 1cm x 2cm piece of each, so no cost here. In the paints section.
- Power drill and a set of bits. I had one. You'll need a full set of general purpose bits (more on this later). The largest should be about 1cm in diameter.
- A length measuring device. A simple well marked ruler will do. Calipers are better.
Important safety information
- Drills are dangerous. They are designed to put holes through things. Keep all body parts far away from the drill bit and preferably use a vice to hold the pipe while drilling. If a vice is not available, secure with your feet on either end of the pipe. Plastic pieces seem to violate conservation laws, so it's safest to wear goggles. It is also very important to start with small drill bits and progressively enlarge the holes you'll be making (therefore the full set of drill bits). Being lazy can cost you with a broken drill bit, a burnt out motor, a broken limb from a spinning PVC pipe, or a drill stuck in the floor/table, or all of the above. Lock the drill or unplug it while swapping out drill bits.
- Emery is abrasive. Use gloves especially if you have sensitive easily bruised skin.
- PVC is a hard and heavy material. If it strikes you by spinning out of control, it will hurt, badly. So make sure it is secured properly before drilling.
A quick primer on flute physics
 A flute is a pipe that is physically closed at one end, but because of the embouchure hole, it is actually a pipe that is open at both ends. The longest wavelength it can support is therefore about twice the length of the tube. Putting holes in the flute
essentially decreases the length of the tube to approximately the location of the hole (actually a little beyond, depending on the size of the hole) therefore
decreasing the wavelength and increasing the frequency or pitch.
For a 2' or 61cm flute, the longest wavelength is about 122cm, which, given a speed of sound of about 340m/s translates to a frequency of 280Hz. The closest note with respect to standard tuning (440Hz concert A) is a C# (above mid C) at 277.18Hz, with a wavelength of a little over 122cm. It seems at first that we won't be able to hit such a low note with a 60cm tube, but it turns out that the acoustic length of the tube is a little more that its physical length, and can indeed accommodate this note.
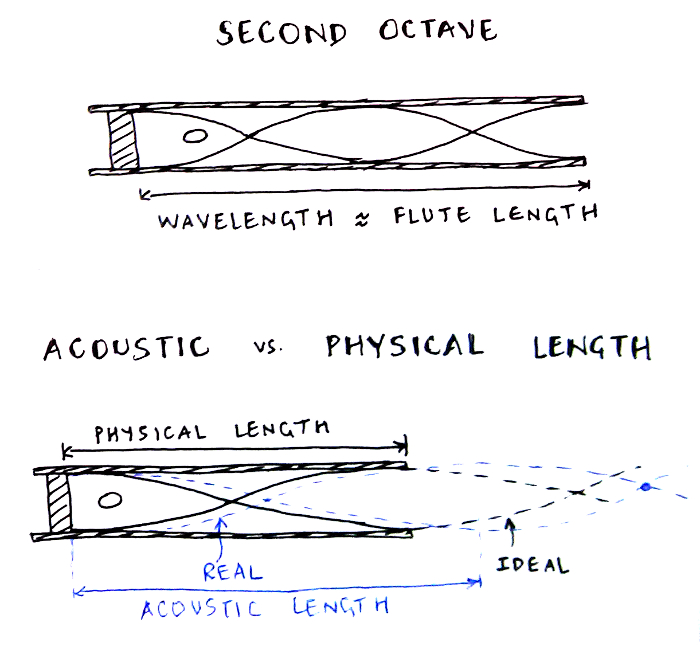 One can make a model that goes beyond the ideal case and accounts for this "effective length" phenomenon. I used this super
convenient flute calculator by Pete Kosel, and didn't have to think
any further.
So, to increase the pitch of the played note, one opens more holes from the far end (i.e. opposite the mouth end) of the flute.
Making the flute
The first step is to calculate the hole positions. Here is a screenshot of the measurements I used.
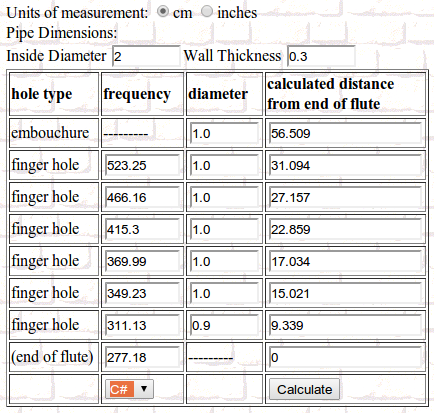 You'll notice that the size of all the holes can be changed. Changing a hole diameter will affect its position on the flute. A smaller hole leads to a longer acoustic length (think of it as follows: the biggest hole
we can make is to cut the flute at that point, and the smallest hole is no hole. The pitch should therefore sweep a continuous range between the no hole and the fully open case as we increase the hole size. This is
also how one can bend notes by partially covering holes.). So for a given pitch, shrinking a hole moves it up the flute (towards mouth) and growing it moves it down.
One has to mess with it a little bit to achieve an optimal hole size and spacing.
The largest gap tends to be between the bottom two holes, and that's why I use a slightly smaller last hole. On a flute this large, one needs either pretty big hands or some practice.
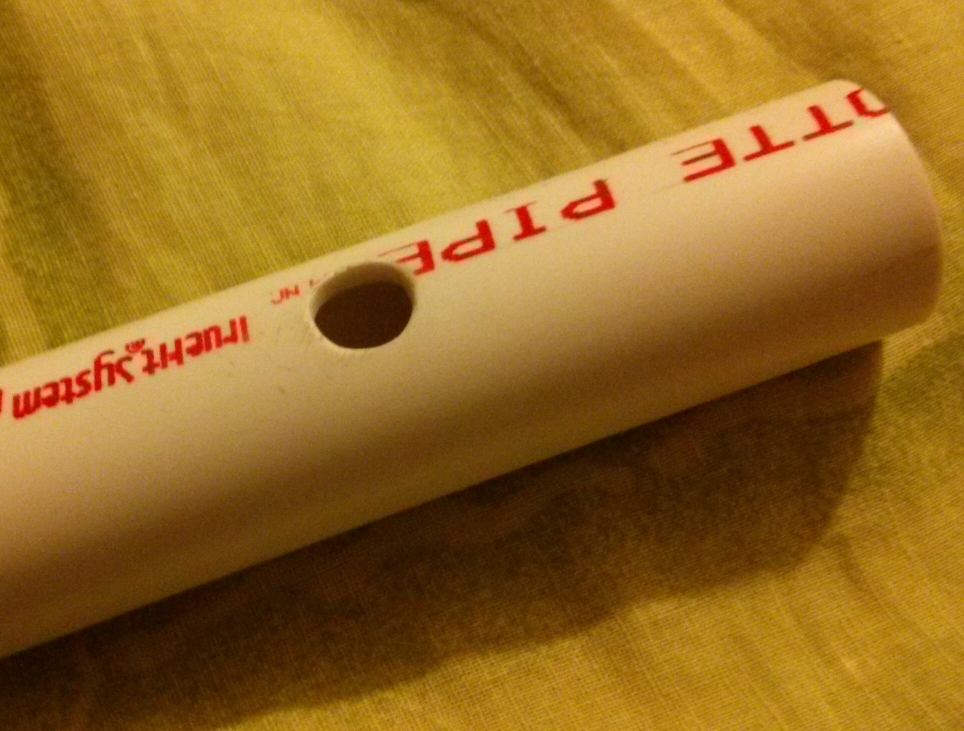 Once you have played with the flutomat to your satisfaction, your can go on and drill the first hole. First draw a straight line down the flute and mark all the hole positions.
It is useful at this point to have not had too many Sunday brunch bloody marys. The first hole
will be the mouth hole or embouchure hole. Secure the pipe and start with a small drill bit, and increase the size in small increments. For the embouchure, a 1cm hole works well.
Try it out by putting your palm tightly against the mouth end of the flute and gently blowing across the mouth hole.
Check the tuning. Your goal is to hit a few cents flat of C#. You can check this by asking Wolfram Alpha to "Play C#3".
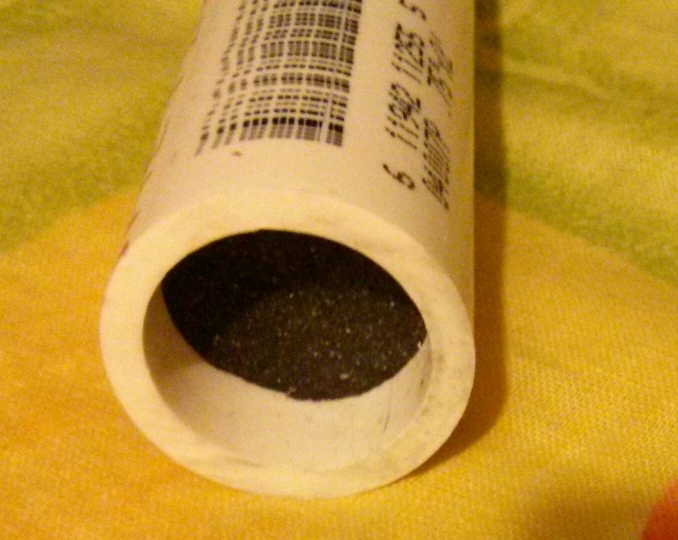 Check the higher octave as well, by blowing slightly faster by tightening up your lips a bit. It should be a perfect octave.
The reason we shoot for slightly flat is that once we insert the cork (the palm is temporary) the pitch will sharpen slightly. In fact, by adjusting the cork position, we can fine tune this note.
Now insert the cork, make sure it's a good seal and tune the note again. File of the edges of the hole and finish with the fine emery paper. Check tuning once again. Yay, we're almost there!
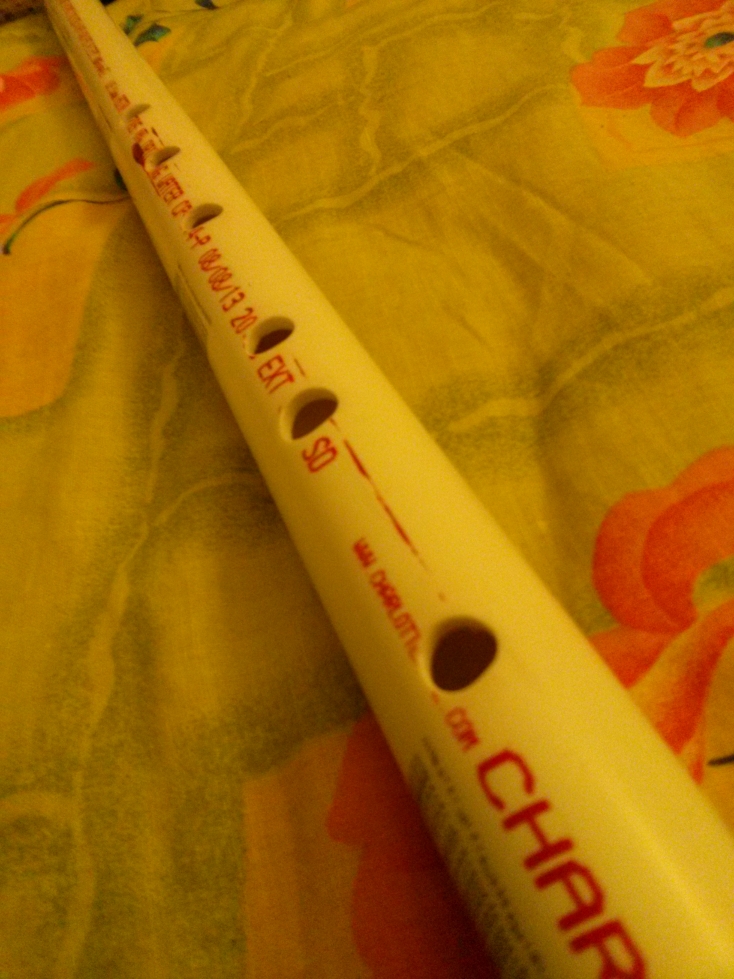 Now, we start adding finger holes. Follow the same procedure as above starting with the bottom most hole. Start with small holes and check tuning. Once you've made a hole too large, there's no way to fix it.
Tune each hole carefully up the major scale starting with C# (C# D# E# F# G# A# B#)
before moving on the next hole.
To sharpen a pitch, you can increase the hole size a bit, or move it upwards by filing off the top part of the hole. If you're having to make large adjustments from the flutomat positions, then something
isn't quite right. Check tuning, file, finish, check tuning.
Once you're done with all six holes, wash the flute well with soap, dry out with crafty use of paper towel and chopsticks, and enjoy!